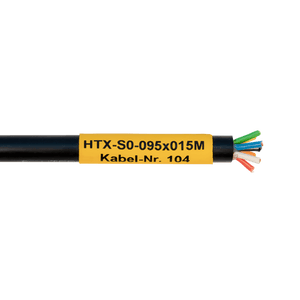
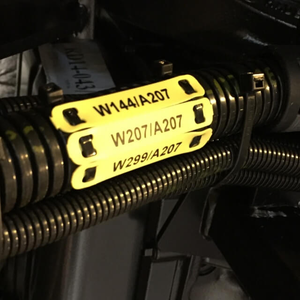
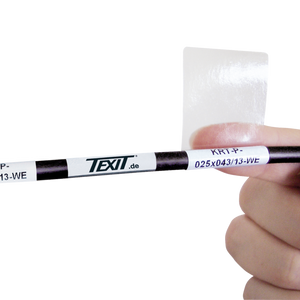
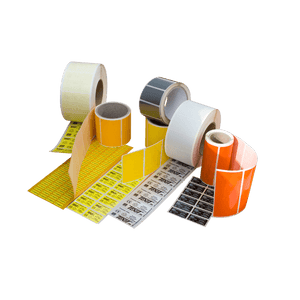
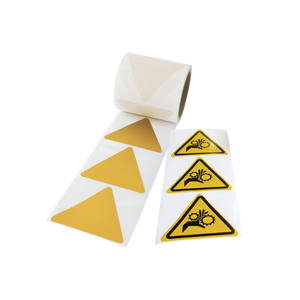
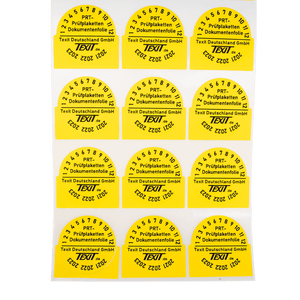
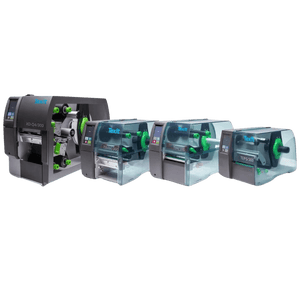
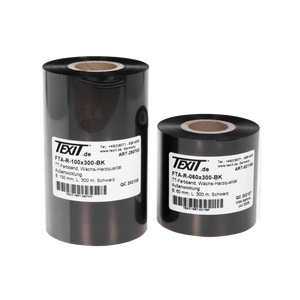

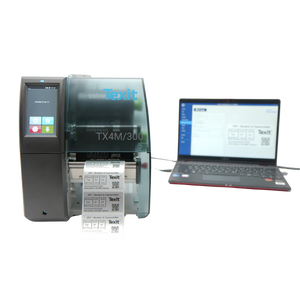

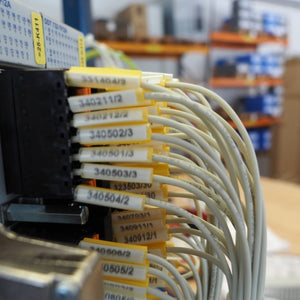

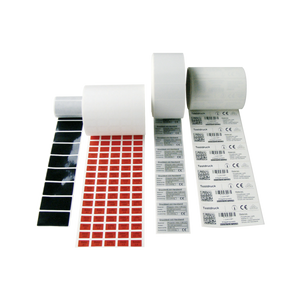
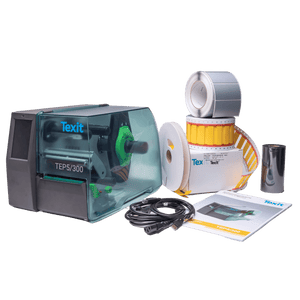

Today, inspection labels can be easily customized and printed right in your own facility. This is especially convenient when inspection dates, equipment, customers, or markings change regularly and you don’t want to keep a stock of pre-printed labels for every possible variation.
Using the right software, you can, for example, place inspection dates, text, company logos, equipment numbers, barcodes, or QR codes directly on the inspection sticker. The design is then printed onto blank inspection stickers.
To print on your own, you essentially need three components:
- software for designing inspection stickers,
- appropriate blank inspection stickers and
- a printing system designed for that purpose.
At Texit, these components are coordinated with one another. With Texit Designer 11, you can access the appropriate inspection sticker templates using the item number and then customize them. Text, logos, barcodes, and other content can be placed using drag-and-drop; Excel data can also be integrated.
What types of content can be used to design inspection stickers?
If you design inspection labels yourself, you can tailor the content and layout to your own inspection process. Instead of keeping several pre-printed versions in stock, you create a basic template and add the necessary information as needed. The information that is useful or required on an inspection label depends on the specific inspection and its intended use. Therefore, there is no one-size-fits-all list that applies equally to every inspection label.
Typical information included on a custom-designed inspection sticker includes:
| Inspection Sticker Design Elements | Typical Uses |
|---|---|
| Test Status | Indicates that a check has been performed |
| Exam Date | Show Next Exam |
| Test Date | Indicate the date of the exam |
| Company logo | Company Identification |
| Equipment Number | Unique Identification |
| Exam ID | Assignment of the Exam |
| QR Code | Linking to Digital Information |
| Barcode | Machine-Readable Identification |
| Serial Number | Unique Assignment of Individual Devices |
IMPORTANT: Especially with small inspection stickers, the design should remain clear and uncluttered. The most important information—often the next inspection date—should be immediately recognizable. The logo, QR code, or additional details should take up only as much space as necessary to ensure that the sticker remains legible and functional.
With Texit Designer 11, text, images, logos, barcodes, QR codes, and serial numbers can be placed directly into an existing template. In addition, external data—for example, from Excel—can be used for variable labeling.
What do you need to design and print inspection stickers yourself?
To ensure that inspection labels can be reliably designed and printed in-house, the software, blank inspection labels, and printing system must be compatible with one another. The software determines the content, format, and position of the individual elements, while the label material must be suitable in terms of size, surface, and intended application. For the actual printing, a suitable thermal transfer printer is required that can clearly print even small fonts, numbering, barcodes, and QR codes.
Our Texit printing system is precisely designed for this purpose:
-
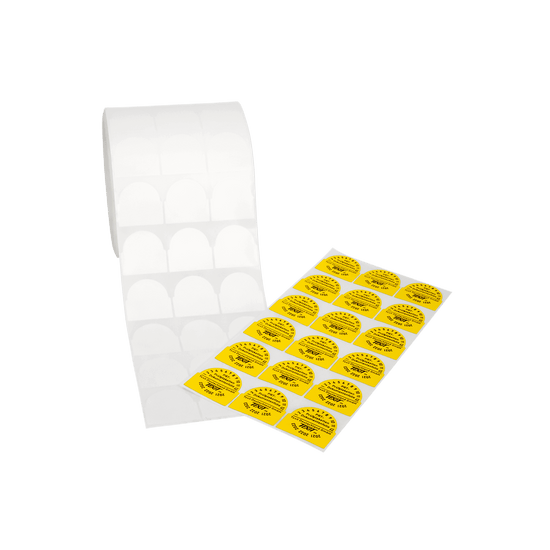
1. Blank inspection stickers
The blank inspection sticker should be appropriate for its intended use in terms of size, material, and adhesive properties, and may be made of, for example, durable plastic film or tamper-evident document film, depending on the requirements. -

2. Design Software
With the right label software, you can select templates, place text, logos, and variable data, and save finished designs for future inspections. In Texit Designer 11, the inspection stickers are already preloaded in the correct size and left blank. -

3. Inspection Stickers for Printing Systems
A customized thermal transfer printing system—in which the label material, ribbon, and print settings are all properly matched—is particularly well-suited for variable and permanently legible inspection markings.


How to: Step-by-Step Guide to Making a Finished Badge
Instructions for Designing and Printing Inspection Stickers
Step 1: Determine the purpose and format
Step 1: Determine the purpose and format
Before you begin designing, the requirements should be clearly defined.
First, clarify the following:
- Where is the inspection sticker affixed?
- How big can it be?
- What information must be visible?
- Should a logo be included?
- Is a QR code or barcode required?
- Should it be obvious if the sticker has been removed?
- Do you need to print different types of data on a regular basis?
The smaller the badge, the more minimalist the design should be.
Step 2: Select the material and printing system
Step 2: Select the material and printing system
In addition to the design, the material of the inspection sticker is particularly crucial for its subsequent use. Robust vinyl or plastic films are often suitable for general inspection markings, while tamper-evident document films are useful when any attempt to remove the sticker should be visible. With document film, the material disintegrates when an attempt is made to remove the affixed sticker, making it significantly more difficult to transfer it to another piece of equipment.
The printing system should also always be configured to match the material being used. Depending on the type of film, different ribbons, print settings, and, if necessary, different printer requirements are used. A consistently legible print image can only be achieved when the label material, ribbon, and printing system are properly matched.
Step 3: Select a template and design an inspection sticker
Step 3: Select a template and design an inspection sticker
Next, open the corresponding blank item in the design software. In Texit Designer 11, you can access the corresponding template using the item number. Then place the desired elements on the inspection sticker.
A logical order would be, for example:
1. Key Information:
Next exam date
2. Identification:
Equipment number or test type
3. Additional information:
logo, verification code, QR code, or barcode
Especially on small, round inspection stickers, you should avoid trying to cram as much information as possible onto them. Clear, easy-to-read labeling is usually more effective than a cluttered design.
Step 4: Integrate variable data and QR codes
Step 4: Integrate variable data and QR codes
If you regularly print large quantities of inspection stickers, you don't have to edit each label individually. Variable information such as
- Device ID,
- Serial number,
- Location,
- Customer or
- Exam Date
can be imported from an Excel file, for example. QR codes and barcodes can also be integrated directly into the design. A QR code can, for example, link to a digital device file or an internal data record.
It is important to perform a test scan before starting batch printing.
Step 5: Print the inspection stickers yourself
Step 5: Print the inspection stickers yourself
Before printing large quantities, it is always a good idea to do a test print. Check to make sure the text is clearly legible and that the data is printed correctly. If so, you can start the mail merge and print the desired number of inspection stickers. The design is automatically saved and can be reused or customized as needed later on.
What the author says on the subject
Tip from our labeling expert Simon Repp:

Having your own printing system is particularly beneficial for companies with inspection markings that change regularly. The biggest advantage is often flexibility: With a customized system, you can produce various inspection stickers and other markings as needed.
Configure the inspection sticker printing system directly
FAQ: Design and Print Your Own Inspection Stickers
Can you design inspection stickers yourself?
Can you design inspection stickers yourself?
Yes. Using appropriate label software, you can customize the placement of inspection dates, text, company logos, equipment numbers, barcodes, and QR codes. The final design is then printed onto appropriate blank inspection stickers.
What software is best for designing inspection stickers?
What software is best for designing inspection stickers?
A suitable software program is one that allows you to manage label formats and place text, graphics, and variable data. Pre-saved templates are particularly convenient because they eliminate the need to manually set the size and print area each time.Texit Designer 11includes templates designed for Texit labels and supports logos, barcodes, QR codes, and variable data, among other features.
What are the most common mistakes made in design and printing?
What are the most common mistakes made in design and printing?
The most common problems don't arise during the actual printing process, but rather during the design and setup phases.
Too much information: Small inspection stickers can quickly become confusing. Prioritize the most important details.
Font too small: What looks good on a screen may be barely legible on a 15- or 30-mm badge.
QR code not tested: Each code should actually be scanned after the test print.
The material and ribbon are not compatible: Use a combination that is suitable for the specific label material.
No test print: Otherwise, an incorrectly positioned element could be repeated throughout an entire production run.
Can inspection stickers be printed with a QR code or barcode?
Can inspection stickers be printed with a QR code or barcode?
Yes. QR codes and barcodes can be integrated directly into the design and can contain, for example, an equipment number, a device ID, or a link to digital documentation. Before mass printing, you should always verify that the code is reliably scannable at the selected size.
Which printer is best for inspection stickers?
Which printer is best for inspection stickers?
Which printer is best for you depends primarily on the number of inspection stickers you want to print. In general, for industrial inspection stickers (stickers indicating the next inspection date with the year and an inspection seal, which are subject to specific regulations), we do not recommend a laser printer; instead, we recommend a thermal transfer printer.
Printing inspection stickers yourself or ordering pre-printed ones—which makes more sense?
Printing inspection stickers yourself or ordering pre-printed ones—which makes more sense?
Pre-printed inspection stickers are particularly convenient when the same information is needed on a long-term basis and you do not want to use your own printing system. Printing them yourself, on the other hand, offers advantages when inspection dates, customers, equipment, or other details change regularly. In such cases, blank inspection stickers can be designed and printed flexibly to meet your specific needs.
What materials are suitable for printing inspection stickers yourself?
What materials are suitable for printing inspection stickers yourself?
Durable plastic or vinyl films are often used for general inspection markings. If it is important to be able to see when an attempt has been made to remove the marking, a tear-resistant document film may be a good choice. The appropriate film depends on the application, the surface, and the desired properties of the marking.