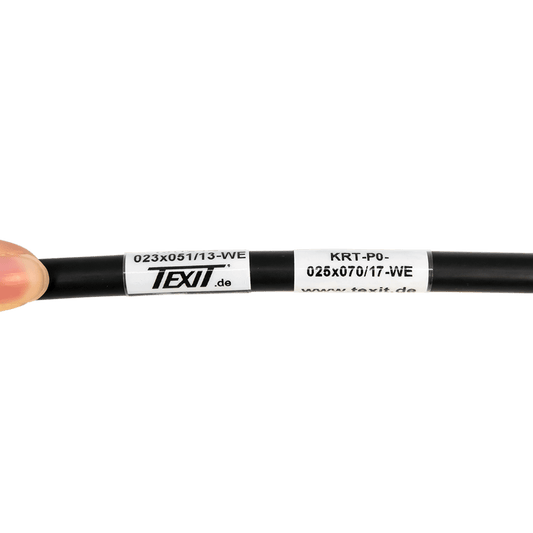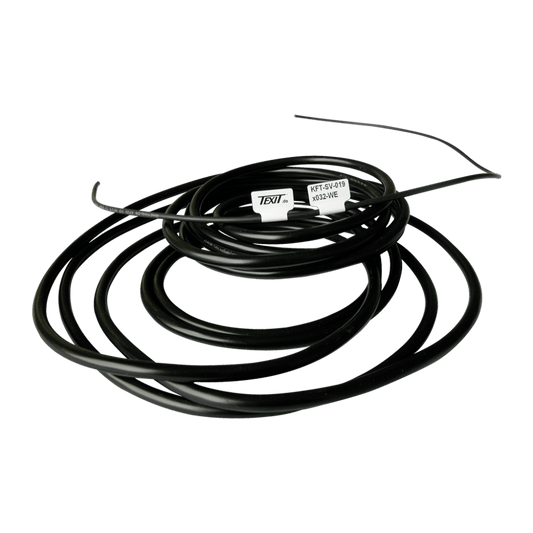

Labeling network cables professionally is a central component of standard-compliant and maintenance-friendly IT infrastructure management. Particularly in larger company networks, data centers or in-house server rooms, structured and clearly documented cabling forms the basis for error-free installation, efficient maintenance and smooth expansion. With Texit's professional cable marking systems, network cables, patch cables and installation cables can be labeled permanently, standard-compliant and machine-readable - quickly, reliably and economically.
In this article, we show you how to implement permanent and structured network cable labeling in just a few steps and provide practical recommendations for effective cable management in accordance with current standards such as EN 50174, ISO/IEC 14763-2 and ANSI/TIA-606-D.
Professional network cable labeling
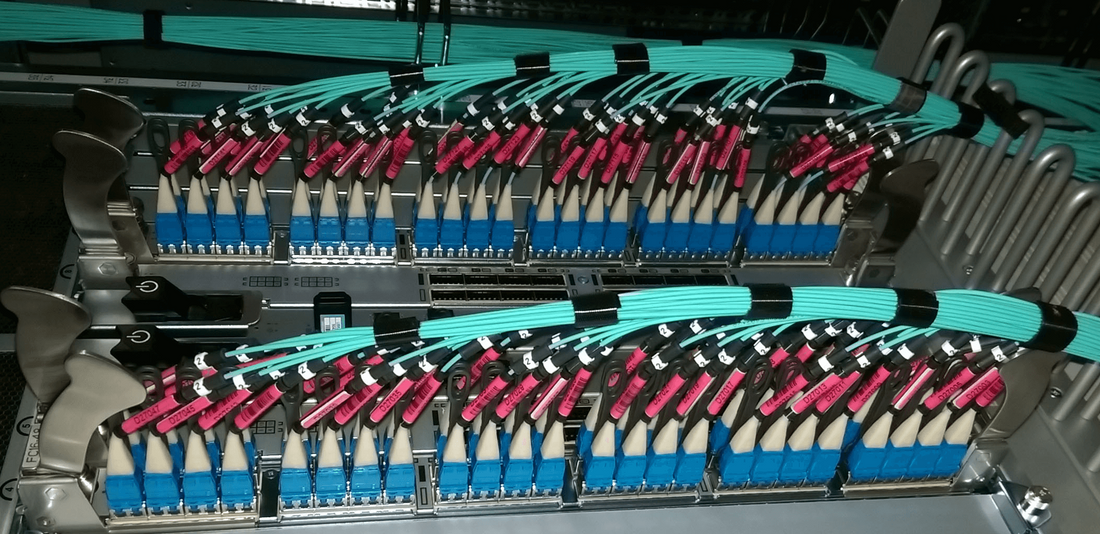
Professional network cable labeling is crucial for the structure, maintainability and operational reliability of modern IT infrastructures. Whether in a data center, in the server room of a medium-sized company or in a classic office network - labeling network cables creates clarity, avoids errors and reduces downtime.
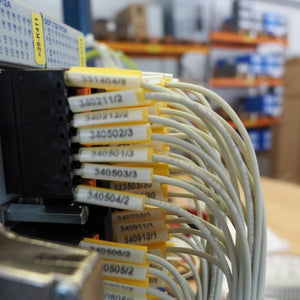
With Texit cable marking, you can label patch cables and mark all types of network cables in a permanent, abrasion-resistant and standard-compliant manner. Our solutions meet the requirements of internationally recognized standards such as EN 50174 (parts 1-3), ISO/IEC 14763-2 and ANSI/TIA-606-D - providing maximum security and traceability for any network environment (both during installation and maintenance).
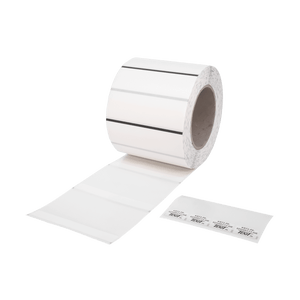
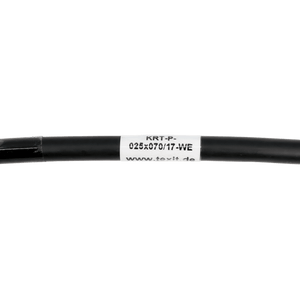
By using self-laminating cable labels, the labeling can be adapted precisely to the cable type and location. This considerably simplifies maintenance, conversions or fault analyses - regardless of whether you are labeling network cables in a single rack or in a large-scale infrastructure.
Advantages of Texit network cable labeling:
- Clear identification of network cables and patch cables
- Quick troubleshooting and maintenance thanks to clear, structured labeling
- Future-proof documentation of network installations
- Extensions and conversions can be realized efficiently
- Standard-compliant marking in accordance with EN 50174, ISO/IEC 14763-2 and ANSI/TIA-606-D
Recommendations for the correct labeling of network cables
In data centers, only use clear, legible fonts (e.g. Arial or DIN 1451 standards) in sufficient size to ensure legibility even in difficult lighting conditions.
Use standardized nomenclature (e.g. room and port numbers, patch panel designations, network adapters) to facilitate recognition and traceability - especially during maintenance or troubleshooting (increases efficiency / troubleshooting and minimizes downtimes).
Document all labels in a central system, ideally digitally, including assignment to the corresponding ports, patch panels, telephone, PC and end devices.
When attaching the adhesive labels, ensure that they are positioned outside areas subject to mechanical stress so that the labeling is not damaged by pulling, bending or regular use. Summarized:
- Use of clear, standardized fonts (e.g. Arial)
- Uniform labeling scheme on site according to defined conventions
- Central documentation of all designations (e.g. in a network plan)
- Placement of labels in accessible, protected locations
- Labeling must be durable, abrasion-resistant and traceable if required
Step 1: Select suitable labeling
In practice, cable labels and cable flags are the most popular:
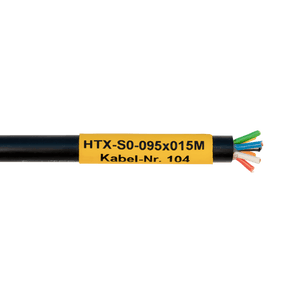
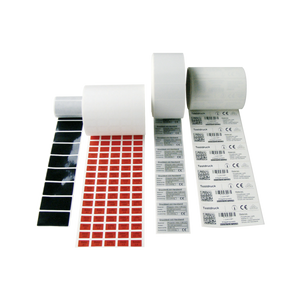
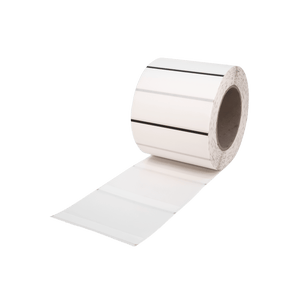
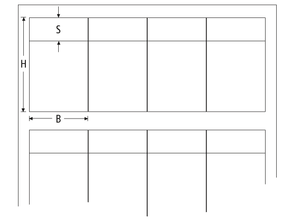
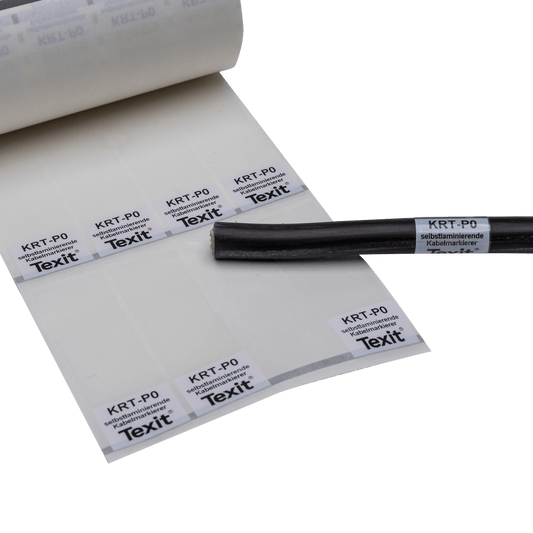
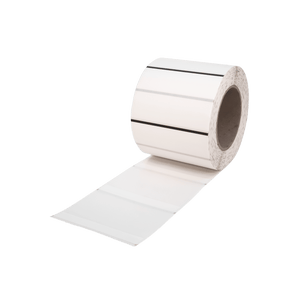
- Self-laminating labels are space-saving, durable (>10 years), easy to apply and protect against external influences thanks to a laminate. They are available for laser printers and thermal transfer printers.
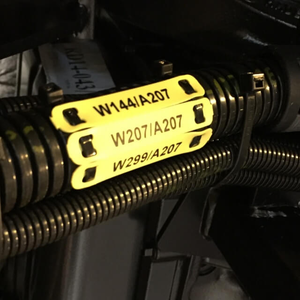
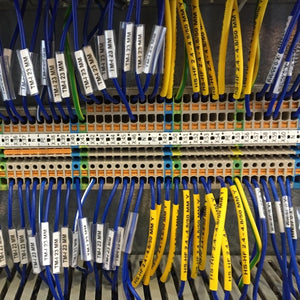
- Cable flags offer more space for information and are particularly suitable for thick cables or extensive labeling.
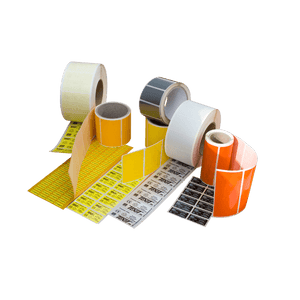
All labels and clips from the Texit range have a permanent adhesive - additional fastening materials (such as cable ties) are not required. The markers are also resistant to mechanical abrasion and cleaning agents.
Step 2: Create & print templates for the patch cable labeling
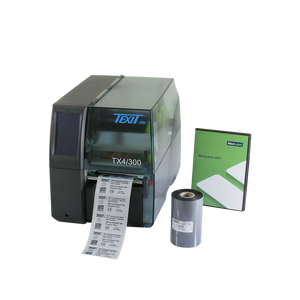
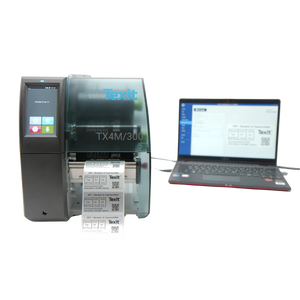
Once you have found and ordered the right items, the next step is to create the print. We have developed our Texit Designer 11 software for this purpose. With this easy-to-use software, all labels can be created on the computer using drag-and-drop. You can design the label flexibly, with numbers for cable IDs or IP addresses. But creating barcodes, logos or other images is also no problem. If you have any questions or need help, your dedicated Texit contact person is always available to assist you. You can discover all the functions of the software interactively here!
As a rule, our customers create their own labels for cable marking on the very first day. The computer is then connected to the printer and the marking can be printed.
Step 3: Label the network cable
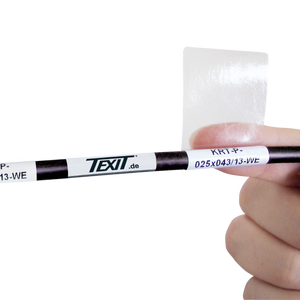
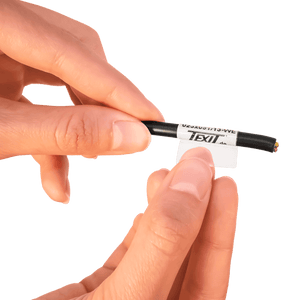
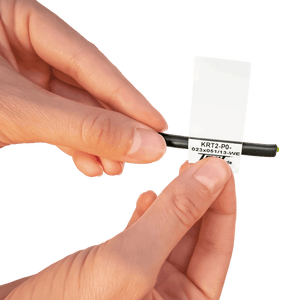
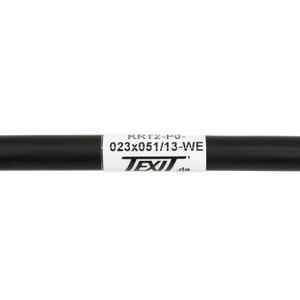
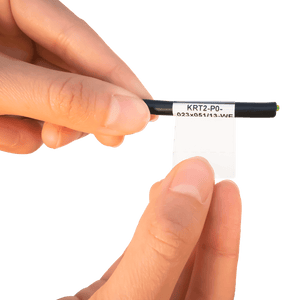
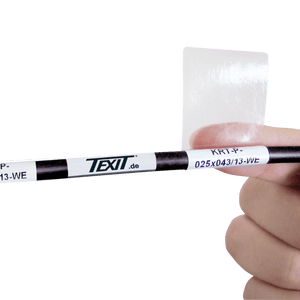
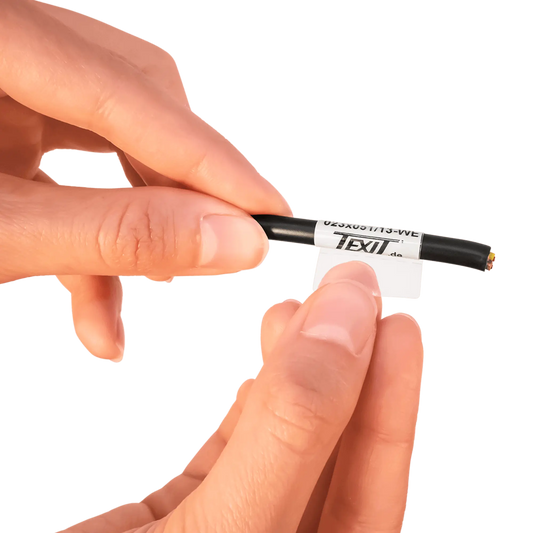
The last step is the actual labeling of the network cables. Now the printed cable markers just need to be attached to the network cables. As the Texit cable labels already have a permanent acrylic adhesive, all you have to do is carefully peel the labels off the film. Then stick the text field onto the desired location first. Make sure that the label is applied straight. Then wrap the laminate protective film tightly around the cable (preferably a little tighter, as this gives the cleanest result). Congratulations, your network cable is now permanently and legibly labeled!
The procedure is similar for the cable flags. When sticking them to the cables, make sure that the two text fields are neatly glued on top of each other.
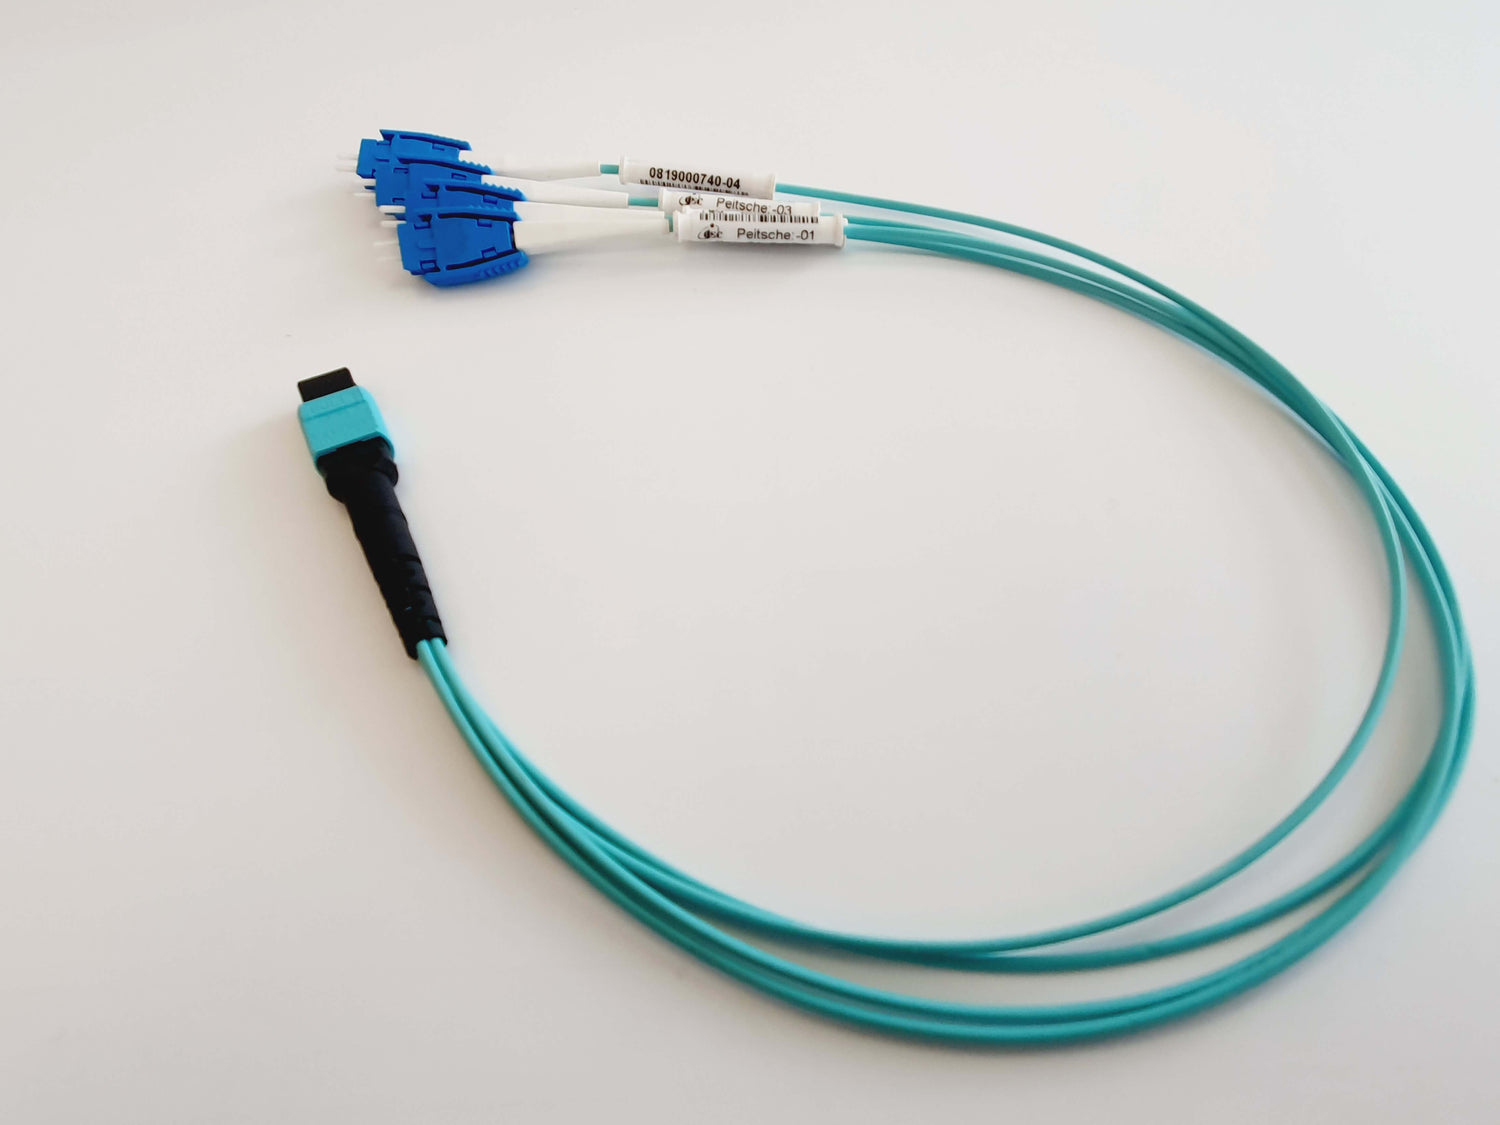
Have network cables labeled
As a time-saving alternative to labeling network cables yourself, you can also have the cable markers labeled directly by us. This not only saves you time when creating the print template and the printing itself, but also the purchase costs of the printing system.
As a rule, the delivery time for a printing service is not significantly longer than for unprinted products.
Still have questions about Lan cable labeling? Just get in touch with us!
FAQ Labeling network cables
What information should be on network cables?
What information should be on network cables?
In order to clearly identify, correctly install and efficiently maintain network cables, two types of information are relevant: technical information from the cable manufacturer and structure-related labeling by the operator or installer.
1. technical cable information (manufacturer's imprint - usually on the cable sheath at the factory):
- Category (CAT): Indicates the performance of the cable, e.g. Cat5e, Cat6, Cat6a, Cat7 - decisive for data rate and bandwidth.
- Shielding: Indicates the protection against electromagnetic interference, e.g. U/UTP, F/UTP, S/FTP.
- Cable length: In practice often specified on a reel, for patch cables usually as a label.
- Cable type: e.g. patch cable (stranded wire), installation cable (solid conductor), LSZH (halogen-free), UV-resistant, etc.
This information is primarily relevant for selection and correct installation - not for system labeling.
2. labeling for the network structure (by the installer):
This is usually done using self-laminating cable labels and contains:
- Cable ID / designation: Alphanumeric and unique in the system.
- Source and destination: E.g. "Rack 01 - Patch panel A - Port 24 → Switch 3 - Port 08".
- Function / service: Such as "VLAN 20", "IP camera", "Access point".
- Date / person responsible (optional): For documentation and traceability.
This structure-related labeling is part of standard-compliant cabling in accordance with e.g. EN 50174, ISO/IEC 14763-2 or ANSI/TIA-606-D.
Who is Texit's network cable labeling suitable for?
Who is Texit's network cable labeling suitable for?
Texit's network cable labeling is suitable for anyone who requires structured, standard-compliant and permanently legible cable identification in IT and network systems. This includes in particular
- Operators and planners of data centers
- IT administrators and network managers
- Electrical and IT installation company
- Facility management and building technology
- Industrial companies with automation networks
- System integrators and service providers
Our labeling solutions meet the requirements of EN 50174 (parts 1-3), ISO/IEC 14763-2 and ANSI/TIA-606-D and support the standard-compliant documentation and maintenance of complex IT infrastructures - from patch cables to backbone cabling.
How can I label patch cables?
How can I label patch cables?
Labels are particularly suitable for labeling patch cables. Care should be taken to ensure that the labels are suitable for cable labeling. Self-laminating cable labels are the most robust.
Thanks to labeling devices, the labels can be permanently labeled quickly and easily and then attached (even to already installed) network cables. The labels can be found as one of the sub-categories of Texit cable labeling.
Bietet Texit einfache Lösungen bzw. Beschriftungsgeräte?
Bietet Texit einfache Lösungen bzw. Beschriftungsgeräte?
In our webshop, you can easily select the right cable markers for your IT cabling using a filter or the option of your choice and add them to the shopping cart. The shopping cart gives you a good overview of your selected cable marking products (e.g. cable markers or cable labels), as well as information on the quantity, article number and the expected delivery time for deliveries in Germany. In order to receive a customized offer, we only have a few requirements, such as your e-mail address and postal address.
Ask us for your individual offer quickly and easily!
